
Island Gold Rush Playbook: Tiles, Squads and Status Effects
Updated Oct 25, 2026
Island Gold Rush is the one place in Clash of Critters where your Tatari fight other trainers instead of Zobos. It runs for seven days alongside whatever rotating event is live, with four factions racing to hold territory, and every attack costs Energy Drinks. A strong roster helps, but plenty of strong rosters finish the week with low kill streaks and empty pockets because they spent cans on the wrong tiles or fought in a bracket above their weight.
This guide covers both halves of the mode: how to spend cans on the map, and how to build squads that actually win the fights.
How the war is scored
Each faction's rank comes from stored gold, and gold comes from tiles you control. Your own rewards also look at how much you helped capture and how many enemy squads you knocked out. Two details shape the whole week:
- Energy Drinks pay for every attack. Attacking over and over in one day brings on fatigue, and each further attack costs more.
- Early momentum snowballs. Players can move to whichever faction is winning, so whoever leads after the first day or two attracts stronger recruits and becomes hard to catch.
Which tiles deserve your cans
Tiles differ in health and in the gold they produce per hour. The table below adds a simple efficiency figure: gold per hour for every 100 HP you have to chew through.
| Tile | HP | Gold per hour | Gold/hr per 100 HP |
|---|---|---|---|
| 1×1 | 300 | 60 | 20 |
| 2×1 | 480 | 180 | 37.5 |
| Large Ruins | 960 | 360 | 37.5 |
| Mine Pit | 1,620 | 600 | 37 |
| Large Mine Pit | 2,280 | 960 | 42 |
Read it this way: a 1×1 returns barely half as much per can as anything else, so leave it alone unless nothing else is open. A 2×1 is exactly as efficient as Large Ruins and draws far less competition, which makes it the quiet favourite in the opening hours. Two quick 2×1 captures match one Large Ruin in income, and the first one starts paying while you are still taking the second.
Fighting on the map, not just in the battle
- Hit what your faction hits. A tile everyone attacks at once falls fast and starts earning sooner. Five people chipping at five different tiles get nothing for a long time.
- Let rivals do the heavy lifting. When another faction is already grinding a tile down, wait until its HP is low and take the final blow. You pay only for the health that was left.
- Switch to kills at the end. On the last day, once standings are settled, farming knockouts for Merits and leaderboard spots pays better than territory. Vans are the softest target because their defenders are bots.
Building a squad for player fights
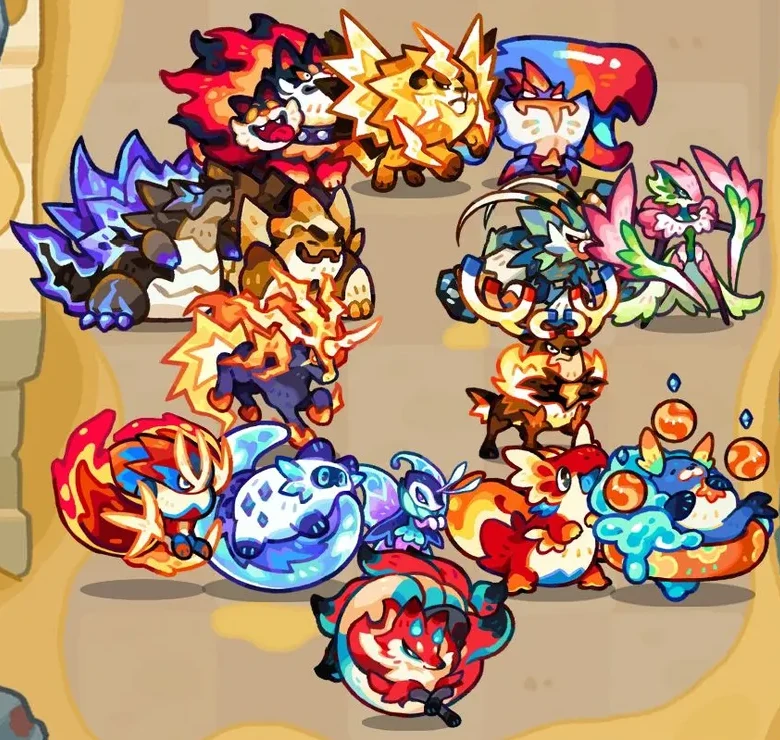
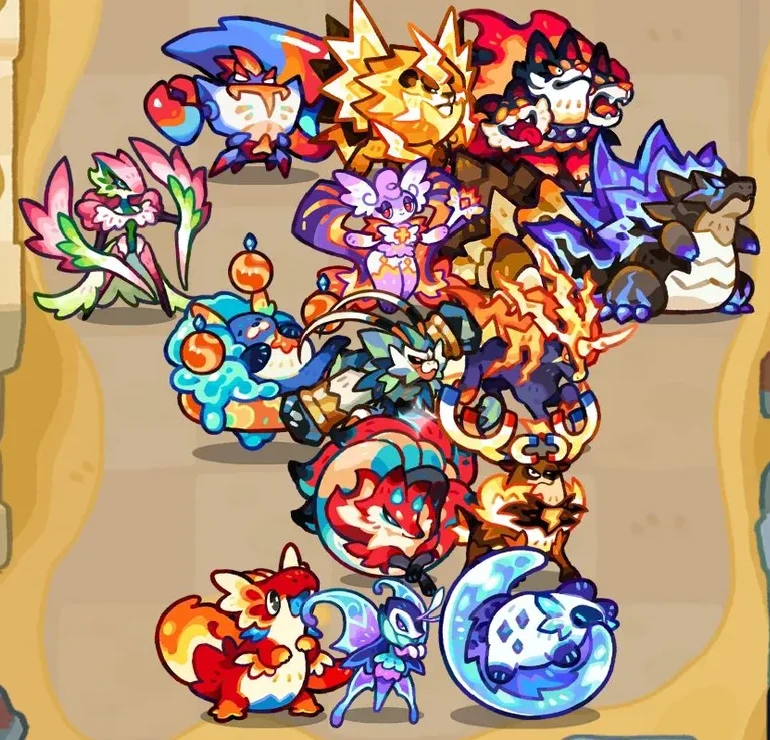
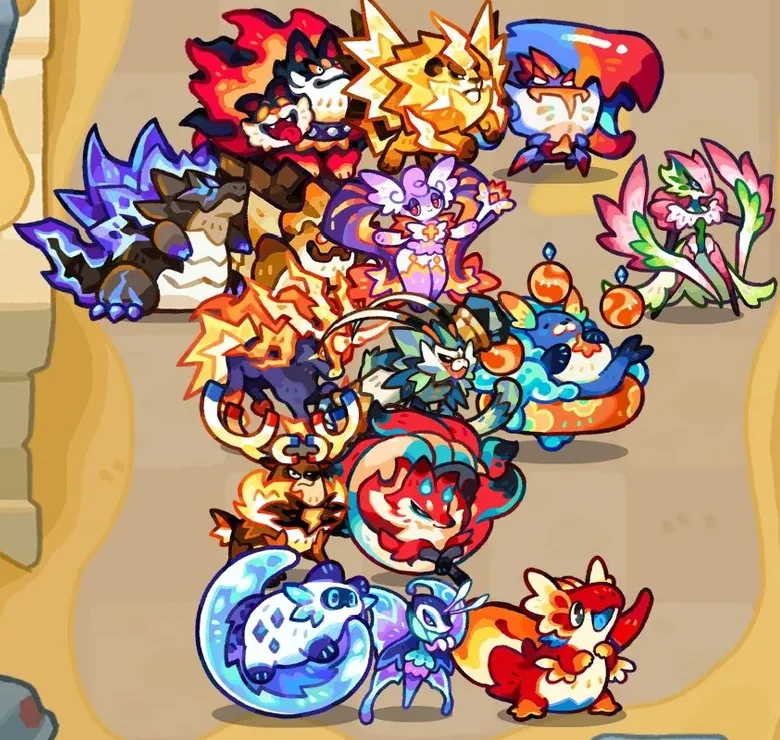
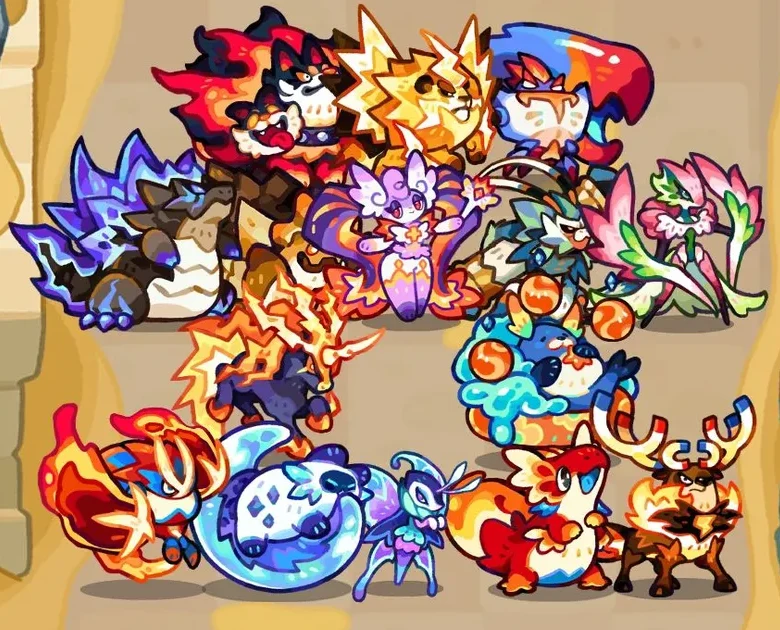
Spread your elements
Ability damage between Tatari is scaled up or down by an Arena Factor that depends on the ability and the element matchup. Every element has a counter, so a squad stacked on one element gets shut down by the first opponent built to beat it. Carrying two to four Tatari of each element keeps your streak alive across many opponents.
Then lean into one Aura
Mixing elements covers weaknesses, but your main element's Aura is still a big chunk of your stats. Lining several units up behind one Aura squeezes out its full multiplier.
| Element | What its Aura gives the team |
|---|---|
| Water | Health restored steadily over time |
| Fire | More damage, so targets drop faster |
| Lightning | Quicker basic attacks and shorter cooldowns |
| Grass | Bonus HP scaled from max health |
| Earth (Rock) | Extra defence, so the team survives longer |
If you are deciding which element's T4 to chase first, the evolution roadmap weighs the Auras against each other.
Attack setup or defence setup
Gold Rush lets you keep separate lineups for attacking and for being attacked, and they should look different.
An attack setup spreads damage across lanes and backs each lane with more than one element, so hits land on the targets you want. It suits most brackets and turns cans into kills efficiently, which is why the bulk of players run one.
A defence setup is what opponents meet while you are offline. It borrows heavily from Dojo-style formations: sturdy front, protected damage dealers, and layouts you can mirror depending on who is hitting you. It matters most in the top brackets, where very high-level trainers want to deny kills and protect their faction's tiles.
Do not try to make one lineup do both jobs. And remember these same lineups carry over to Duneside Arena, which is the same kind of player fight, just one against one.
Status effects worth recognising
Ability text gets confusing fast in player fights. Here is what the common effects actually do:
| Effect | In plain words |
|---|---|
| Fragile | The target takes more damage from every source. Two copies with the same name do not stack; differently named ones (for example from Funglet and Zaplet  ) do. |
| Weaken | The target deals less damage. Same-name rule as Fragile. |
| Shredded | A Fragile that only lasts eight hits. |
| Burn, Sting, Poison | A hit plus damage ticking over time. |
| Stun | No moving, attacking or casting for a moment. |
| Paralysis | Cannot move and takes steady damage, but still attacks. |
| Bind | Movement locked, nothing else. |
| Blind | Deals no damage for a while. |
| Sleep | Fully idle until it takes enough damage to wake. |
| Slow | Moves at reduced speed. |
| Pull, Knockback | Drags a target in or shoves it out of position. |
| Shield | Absorbs damage based on HP percent; some also reflect or stun. |
| Invincible | Cannot be targeted or ignores incoming hits for a short window. |
Buffs work the same way in reverse: attack-speed boosts shorten cooldowns, and ATK or DEF sharing passes part of one unit's stat to its allies.
Picking a bracket
Kill streaks depend on the board you join as much as on your roster. The higher the bracket, the fewer knockouts every squad gets. If your team feels strong but your streak keeps stalling, try a board that matches your level before you tear the lineup apart.
Evolving with Gold Rush in mind
Tanks and guardians are the backbone of both attack and defence setups, so raise those first: aim for about five per element at T2 or T3, and bring along a few damage dealers, supports and specialists to the same tier. Most Tatari change very little between T1 and T2, so these principles hold even for young accounts. The Tatadex tier list is the place to check which units are pulling their weight right now.
Gold Rush also feeds evolution directly. Many trials are cleared by spending Energy Drinks here: Turtuff → Rockshell
 , Cobbledon
 → Rockzilla
 and Lulupo
 → Lilypo
 each ask for 5,000, while Hellhound
 → Pyrodaemon
 wants 20,000. Others count knockouts, such as Joeyo
 → Puncharoo
 at 30 defeated enemies.
Before you spend a single can
- Is there a 2×1 or larger tile open instead of a 1×1?
- Is your faction already hitting something you can join?
- Is a rival close to finishing a tile you could snipe?
- Are you in a bracket where your squad can win fights?
- Does your attack lineup cover every element, and does your defence lineup differ from it?
Tatadex verdict
The Gold Rush question Fox hears most is "my team is strong, so why so few knockouts?" The answer is often the bracket: in a bracket above your team's strength, your knockout streak stays low even if the team isn't weak. Pick a bracket that fits first, then think about changing the team.
Bringing two to four Tatari per element sounds like a waste of slots, but Fox thinks it's the simplest way to avoid being shut down by one counter team. Use an attack setup when online and a defence setup when offline; don't make one team do both.
Open the Tier List →Evolve along the meta, tanks and guardians first.Keep reading
- Pinball Banking: Riding the Five-Event Loop Without Running Dry
- Five Events, Five Habits: A Field Card for Every Rotation
- Marathon Party Without Waste: Boards, Boxes and a Three-Day Plan
- Zobo Shooter Explained: Arenas, Hit Rolls and Chest Pools
- Boss Hunting in Zobo Shooter: Squeezing More Chests from Every Coin
- Growing Heavy Crops in Cozy Farm: Support First, Fertiliser Second
- Gone Fishing: Records, Rods and the Ten-Minute Bait Window
- Dig Less, Find More: A Pickaxe-Saving Plan for Treasure Hunt